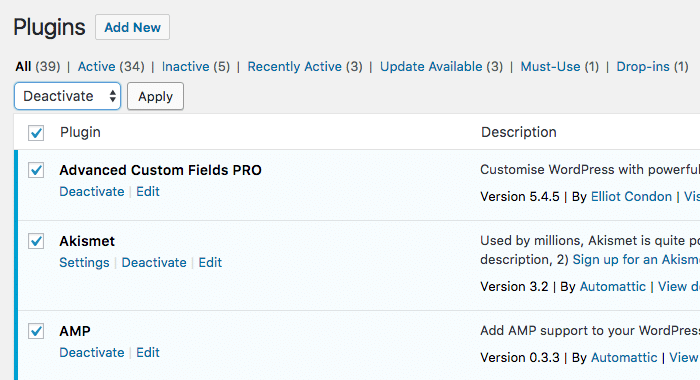
When things go wrong in WordPress, often times the advice you’ll hear is to deactivate all of your plugins. Normally this is as easy as going to Appearance > Plugins, selecting all plugins and choosing Bulk Actions > Deactivate:

But what if armageddon has struck and you’re not able to access the WordPress Admin Panel? This article will show you the two ways you can deactivate plugins when you can’t access WordPress admin.
Be sure to run a full backup of your site before performing any of the following steps. If you’re on our maintenance plan we’ve taken a backup in the last 24 hours. If you’ve made recent changes get a hold of us and we can run a current backup.
Option 1: Rename the plugins folder
This technique requires knowledge of FTP and an FTP Client (FileZilla or Transmit).
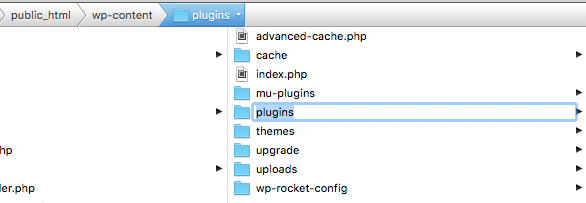
- Log into the root of your server via FTP. The root is normally httpdocs or public_html.
- Browse to wp-content > plugins
- Rename the plugins directory to what ever you want. You may have a right-click option to rename, or simply click once in Transmit and the folder will become editable.
- All plugins will now be deactivated. Log into your site and access the admin area.

If a plugin was causing the problem, you can now start to activate them one at a time. An easy way to do that is to visit Appearance > Plugins in WordPress. You will see a list of admin notifications that plugins have been deactivated because they don’t exist. Don’t worry, they are still there, but WordPress can’t see them because it looks for a directory named plugins. Log back into your server and rename the deactivated plugins folder to “plugins“. You can now go back to the WordPress admin panel and reactivate plugins one at a time. When your site breaks again, you’ll have found the problem.
Option 2: Deactivate plugins through the database
Deactivating plugins through FTP is our preferred method. It’s quick and straight forward, and less prone to error. You can also deactivate plugins through the database however. A common way to access a database is through phpMyAdmin a tool for interacting with a MySQL database through a web browser. Most hosts provide this tool in the hosting admin panel. You can find it in the section labeled database:

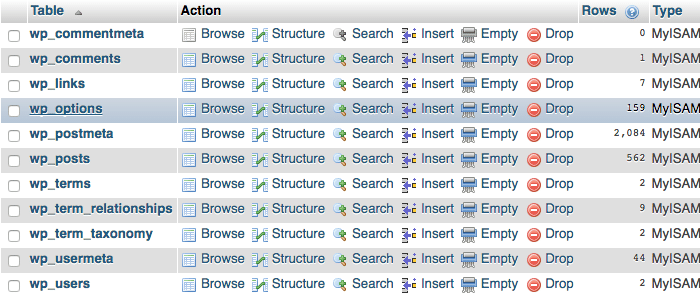
phpMyAdmin will in a new window . Choose your database and the tables will appear on the right. In the example below, all the tables begin with “wp_” as a prefix. This is the standard WordPress table prefix, but yours may differ.
The table we are looking for is wp_options:

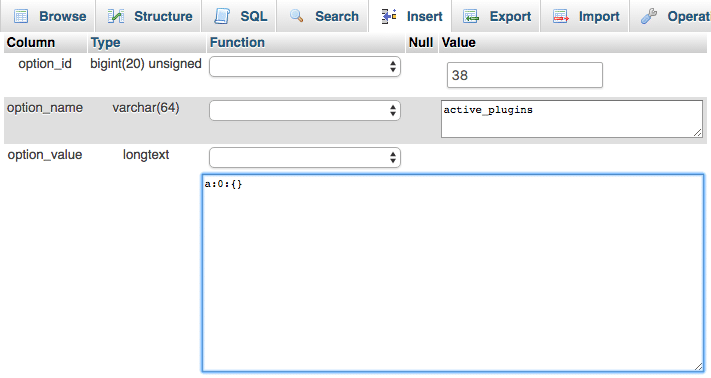
Clicking on the table name will open the table to reveal the rows. The row we are looking for is active_plugins:

Again, click on the edit link next to the active_plugins row. This will open up another set of options. The option_value section is what we’re looking for. Most likely this field will be full of text, especially if you have a lot of plugins installed. Select it all and replace it with this:
a:0:{}

Click save to deactivate all site plugins. Log back into the WordPress admin panel and begin reactivating plugins one by one to find the problem.